Quick start guide - Almond+ 2014
This section will cover how to get your Beta/Developer unit up and running, including how to connect it to the Almond cloud service and how to add sensors etc. We'll expand this section as we add new features and over time this will be transitioned to separate sections in the Wiki. For the time being we're keeping everything on a single page to make it easier to find everything. This page will also contain the most up to date instructions.
Contents
Setup wizard
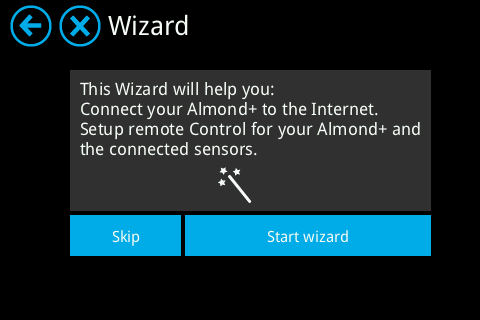
The first thing you’ll come across when you power on your Almond+ is the setup wizard. It’ll help you get connected to the Internet.
Tap on [Start wizard] to get started.
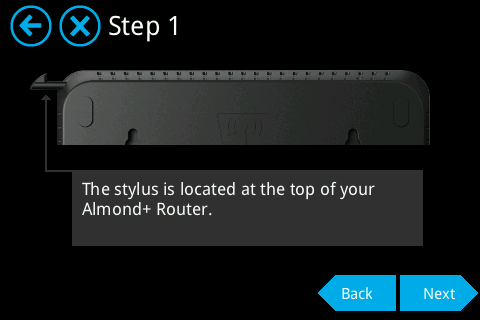
This screen simply informs you of where you can locate your stylus on the Almond+.
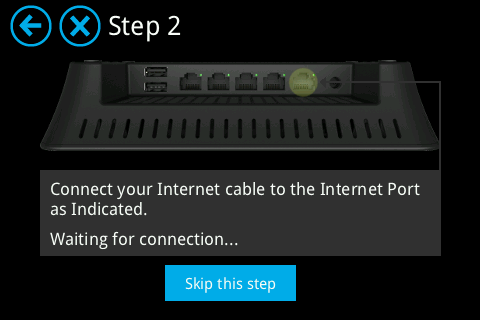
At this step you need to connect the cable from your Internet connection to the Almond+. Depending on the type of Internet connection you have, you'll then be prompted on how to continue.
DHCP
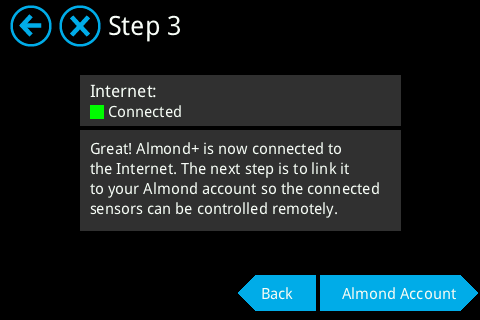
If you're using DHCP, the Almond+ will auto detect your settings and you should simply see a dialogue asking you to wait for the connection to be verified, followed by a screen that informs you that you're connected to the Internet.

PPPoE
If your Internet connection is using PPPoE, the Almond+ won't be able to auto detect your settings and you need to follow the following steps to get connected to the Internet.

Instead of being greeted by the Done screen, you'll see the following screen as the next step in the setup process.
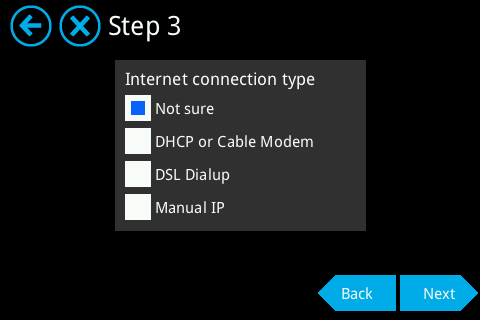
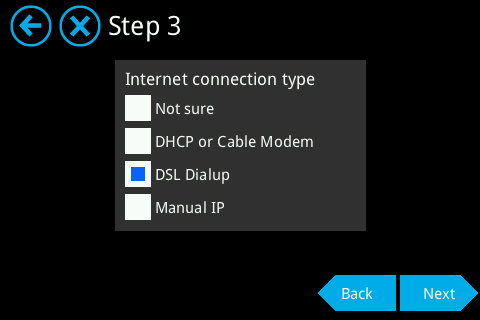
At this point, select DSL Dialup and tap on Next to continue.
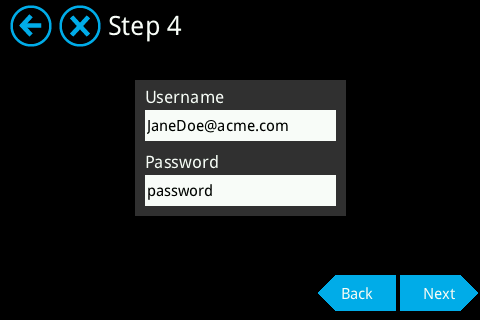
Now you need to fill in the username and password for the PPPoE connection. Tapping inside any of the two text boxes will bring up a virtual keyboard which allows you to edit the text. Once you're finished entering your username and password, tap on Next to continue.
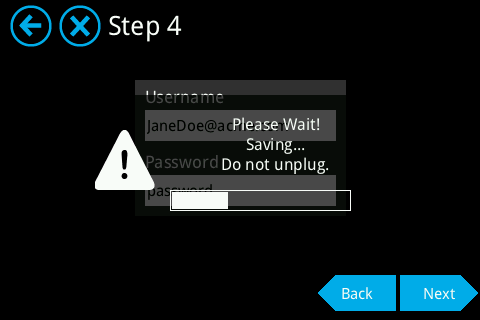
The Almond+ will proceed to saving the settings which takes a few seconds.
Select PPPoE DSL and tap next to finalize the setup.
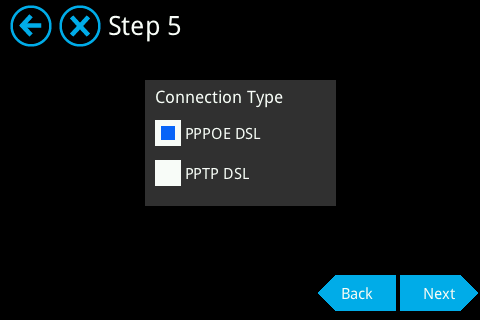
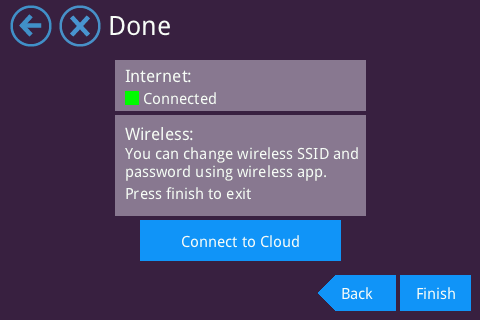
If the settings were correct and the Almond+ can connect to the Internet through your xDSL modem you should see the screen below and you're ready to continue to the next step of the setup.
Link to Cloud
The next step involves linking your Almond+ to the Almond cloud service for remote access to your sensors. Simply tap on [Connect to Cloud] at the end of the Setup wizard and you’ll be greeted by the following screen.
Note: In firmware R054, there's a bug that prevents the [Connect to Cloud] button from being tapped. As such, you'll have to finish the setup via the wizard and then locate the Link to Cloud (Cloud Affiliation on R054) app on the LCD UI and continue from there.
To connect your Almond+ with the Almond cloud service, you first need to set up an account. Please follow the steps described below to register for an account.
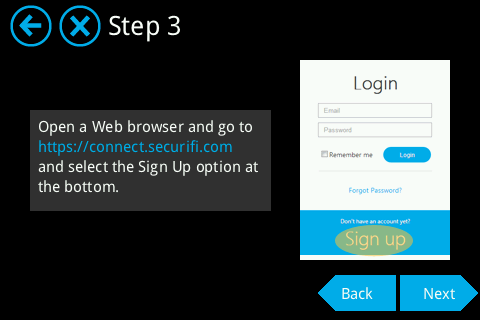
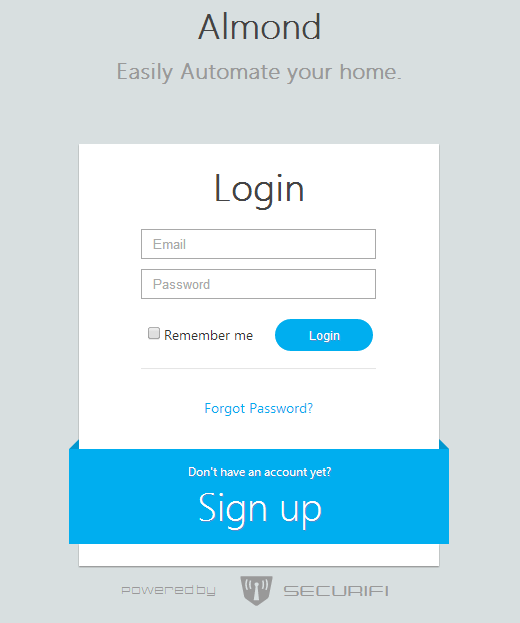
Open a web browser and go to https://connect.securifi.com/ and you should see the following screen. Please click on Sign up and proceed to the next step.
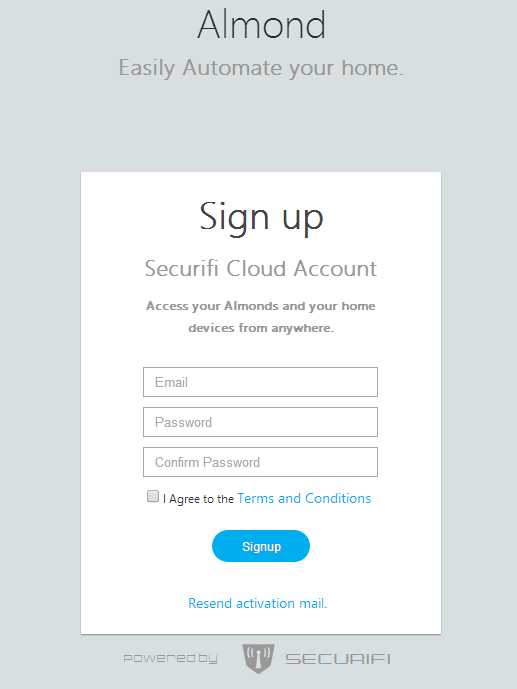
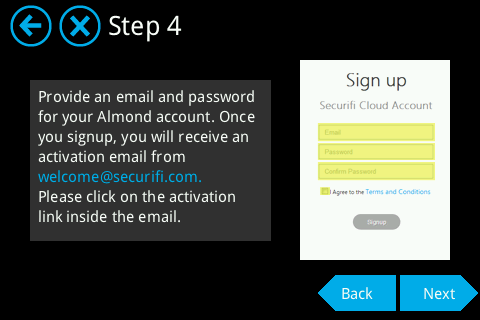
At this point, please enter your Email address and a password which you also need to confirm. Don’t forget to read and agree to the terms and conditions, then click on Signup.
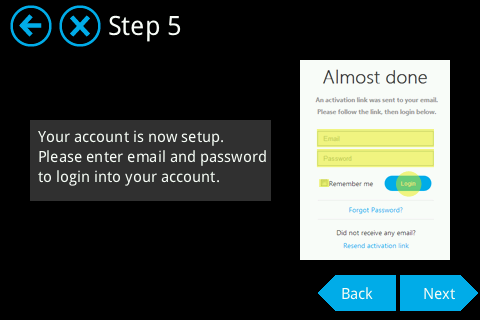
The last step of the signup procedure is to active your account. You will be sent an email from welcome@securifi.com, so please make sure it hasn’t ended up in your spam filter/folder. Click on the link in the email and you should be ready to access the Almond cloud service.
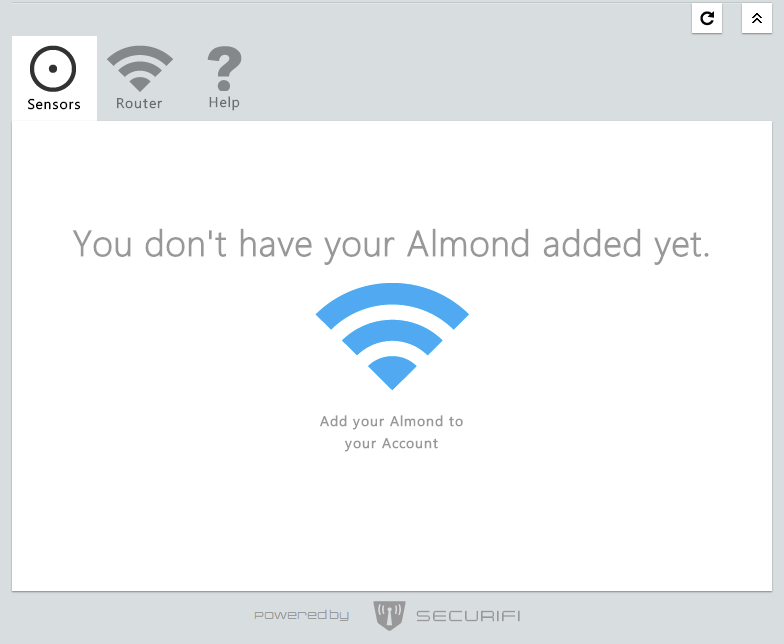
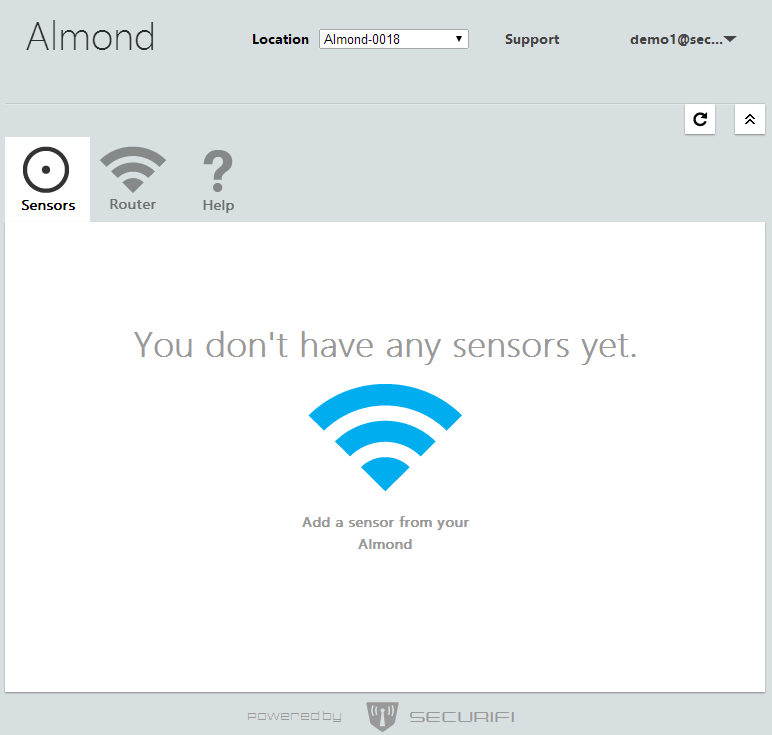
Once you’ve logged in, you should see the following screen.
You’re now ready to continue the process of linking your Almond+ with the Almond cloud service. Click on “Add your Almond to your Account” as per the picture above. This will take you to the Link Almond screen which is asking you to enter a code.
Tap on the Get Code button in the LCD UI of your Almond+ and you should get an auto generated code as shown below. The code is case sensitive, unique and is to be used only once. You have a two minute time window to enter this code in the webpage. If the time is to run out, you can get a new code and start over.
Note: We'll be adding a QR-code to make this easier in the future and we've already provisioned for this in both the Almond+ and the mobile apps.
This code has to be entered into the code box on the webpage as shown below.
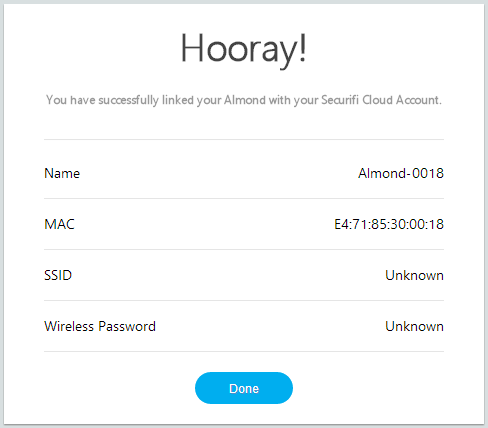
If the linking process was successful, you should see the following message on the webpage.
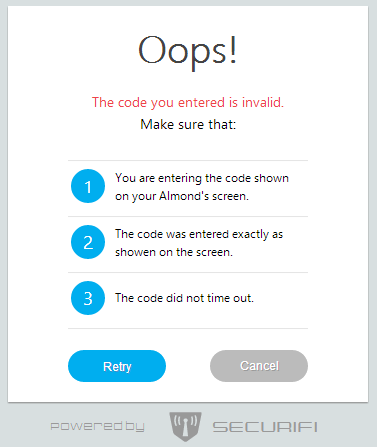
If the linking failed for some reason, you’ll see something like the following message.
After a successful linking, click on Done and you should see the following screen in your web browser.
To finalize the setup on your Almond+, simply tap anywhere on the screen and you’ll exit the wizard and enter the main LCD UI of your Almond+.
Add Sensors
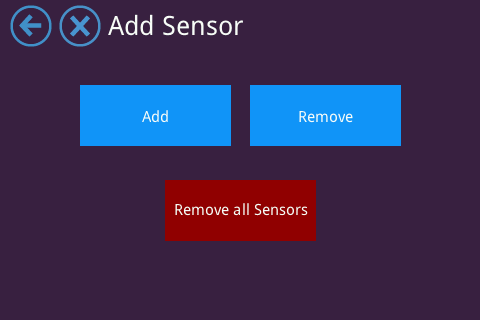
It’s now time to start adding sensors to your Almond+. To do this, tap on the Add Sensor icon on the LCD UI.
From here you can start adding your sensors. Simply tap on the Add button.
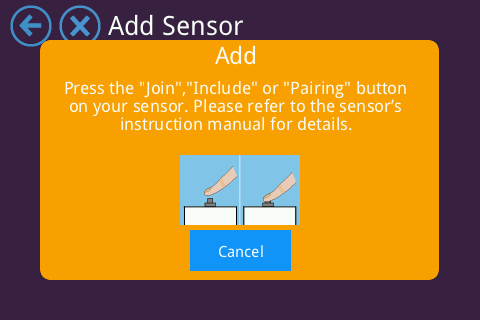
At this point, you need to start the process of adding your sensor or device. Please read the instructions that came with your sensor or device on how to add them to a network. There’s usually a button that should be pressed in a specific way (once, three times quickly, press and hold for 3 seconds, etc.) to start the adding process.
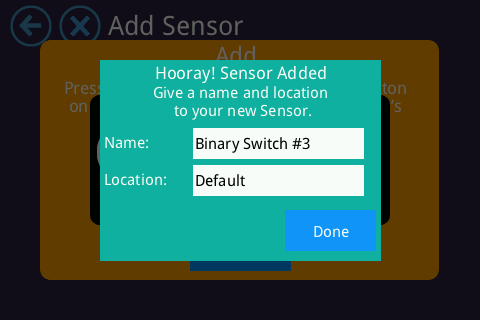
Once the sensor or device has been detect by the Almond+, you can change the default name and location by tapping in either text box. A virtual keyboard will appear and you can change it to something that makes it easy to locate. This can also be changed later by editing the sensor in the Connected Sensors app, via the local web UI, the Almond cloud or in the mobile app. When finished, tap on [Done!] to save the settings.
Remove a sensor
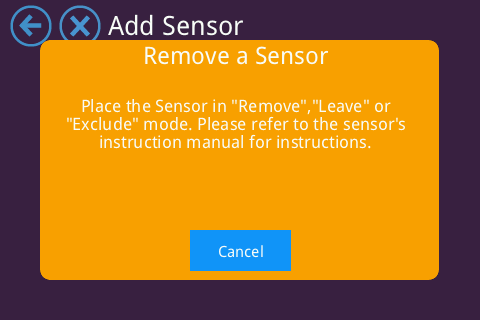
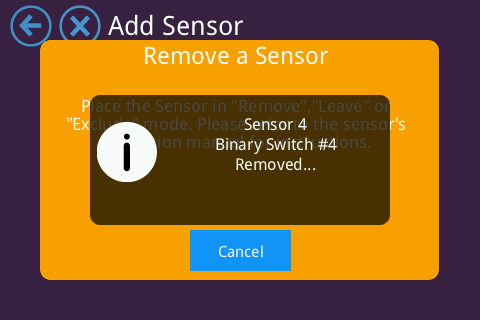
If for some reason you want to remove a sensor or device, simply tap on the Remove button and then follow the sensor or device manufacturer’s instructions on how to remove a sensors. This usually involves either pressing the button on the sensor or device shortly, several times quickly, or holding it pressed down for about 5-10 seconds.
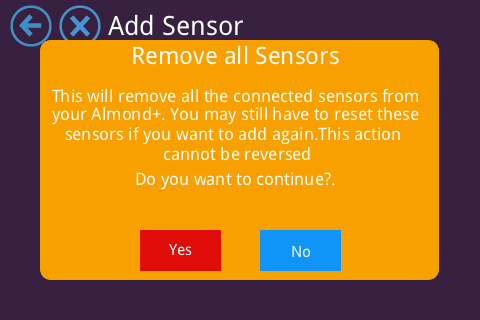
Additionally you can reset your Almond+ by selecting Reset. This performs a factory reset of the ZigBee and Z-Wave controller part.
Warning: Doing this will forcefully remove all connected sensors and it’s not recommended to do during normal operation. A reset should only be used after you’ve manually removed all your sensors and device to purge any potential residual sensor data.
Controlling your sensors and devices
Although the best way to keep an eye on all your sensors and devices are via the Almond cloud service (or the upcoming offline option), it’s possible to control and monitor your sensors and devices directly from the Almond+ LCD UI via the Connected Home app. Start it by tapping on the corresponding icon on the LCD UI.
480x320px
In this example we have a binary power switch and a door/window sensor connected to the Almond+.
Note: This is not the final UI for the Connected Home app but serves as an easy means of testing your sensors after you've associated them with your Almond+.
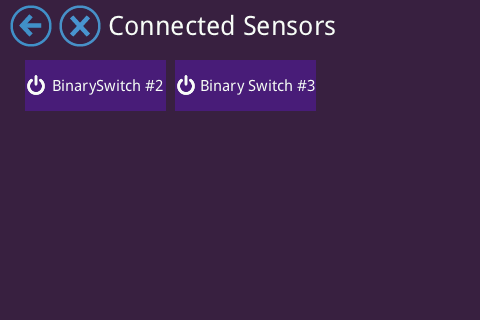
The binary switch can be switched on or off from the LCD UI and models with power metering functionality should also display it here.
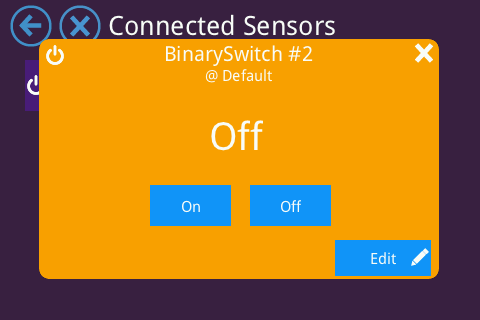
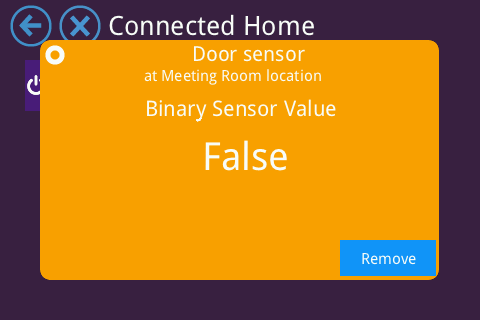
The door/window sensor in this example simply displays a true/false statement. This will be changed to open/closed in a future firmware update.
Note:The ZigBee door/window sensors that shipped with the $499 pledges display open/close. The typo will again get fixed in a future firmware update.
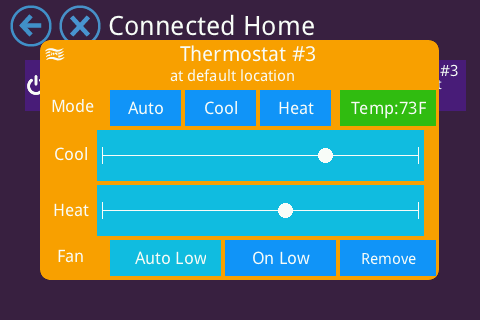
Below is an example of the controls of a more complex device, in this case a Radio Thermostat.
